Drive engagement through video
The world’s most reliable, scalable, and intelligent video technology platform
Contact SalesThe world’s most reliable, scalable, and intelligent video technology platform
Contact SalesWe won two Emmys® in 2021!
2021Technology and Engineering Emmy® Awards

99%Customer Satisfaction Rate
10MVideos Streamed Monthly Worldwide
2500Businesses that trust us every day
2Emmy® Awards
We offer different solutions to meet different needs. Explore all the options to find your ideal pack.
Contact SalesContent monetization to fit any brand or company with advertising, subscription, and transactional video on demand offerings.
Transform your enterprise wide communication by incorporating videos into your strategy.
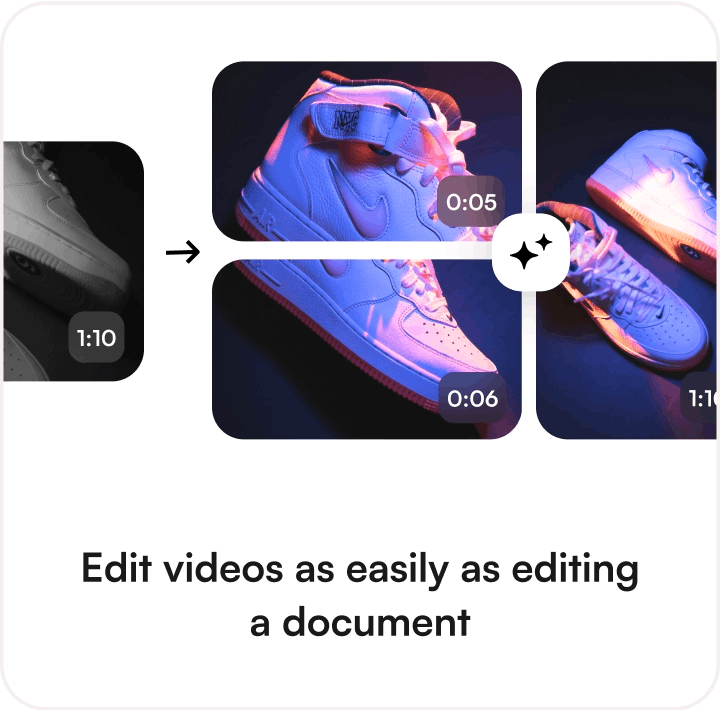
All the tools you need to power your brand through video. Control your viewer experience, edit videos with precision, and maximize reach.
Quickly build and launch compelling app experiences on all major platforms and devices.
Extremely fast transcoding, industry-leading reliability, unmatched input file compatibility, and output support for all connected devices.
Brightcove’s AI tools help you move faster—from auto-generating captions to finding highlights and tagging content automatically.


1 of 3
Brightcove offers full REST APIs, SDKs, and prebuilt connectors to fit any stack—web, mobile, OTT, or enterprise.
Explore Integrations

Trigger campaigns and score leads from video views.

Publish videos directly from your CMS.

Track video ROI in your existing dashboards.

Stream to apps with built-in ads and subscriptions.

Protect your data and meet your compliance targets with our comprehensive security tools.

See how the Brightcove Video Engagement Platform can help your business reach its full potential through video
Get Started