USING SOCIAL MEDIA TO AMPLIFY OWNED VIDEO CONTENT

If you want your content to find an audience—and I’m assuming you do—then you need to take a multi-channel approach to content promotion. Social channels like Facebook, Twitter, Instagram, and even LinkedIn help you capture viewers where they’re already active, engaged, and clicking on links.

Of course, each channel has unique users, interfaces, and needs, so you’ll want to create unique content for each of them. And, in order to monetize those views, you have to make sure some of those links are driving back to your owned properties.

We’ve pulled together the top posting best practices for using social to amplify your owned content, so you can see your click-throughs spike.
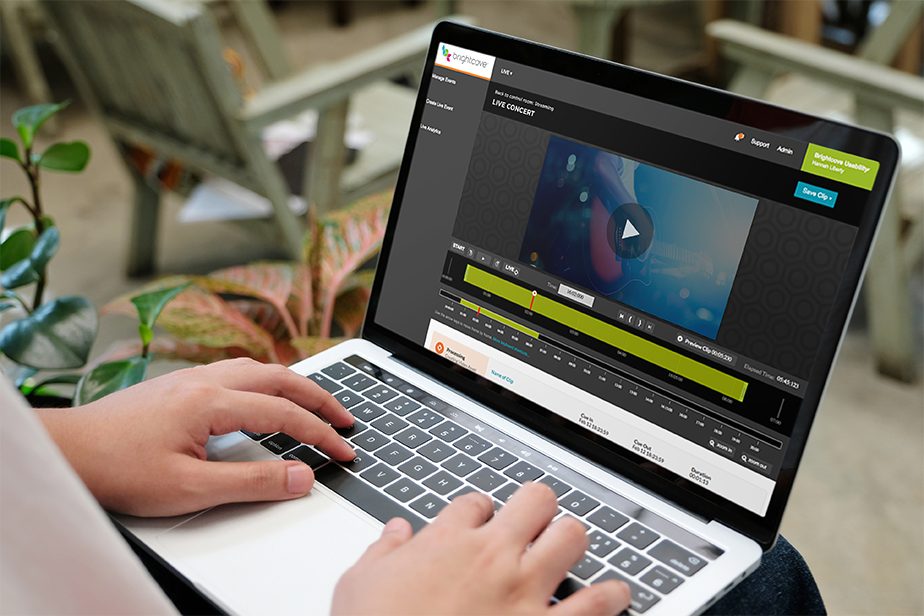
LIVE STREAMING

Not all brands have hopped on the live to social bandwagon yet—so if you start now, you’ll have an advantage. When you’re live streaming on social, whether you’re on YouTube, Instagram, or Facebook, your live stream should stay up long enough so that viewers have time to find your stream and tune in. You’ll probably notice that you start out with only a few viewers, and the audience grows exponentially throughout. A good rule of thumb is to stay live for no less than ten minutes.

Prefer to keep your live stream on your own website? Post a clip to social during the event (including a link back to your website, of course) so that your social followers know you’ve got a live event going on.

AUTOMATED MONETIZATION

Are you monetizing the content you post on YouTube? You should be. And if it sounds intimidating, don’t worry—you can automate the process using your tech stack. For example, Brightcove Social’s AutoSync allows you to automatically sync videos, including monetization settings, to your social media channels based on video tags in Brightcove. That way, you can upload a video once, distribute it to all your social profiles, and collect analytics in one dashboard. Once configured, Brightcove Social settings adhere to existing YouTube copyright and monetization policies, so you can enforce copyright and monetize your YouTube content, without managing it in YouTube separately.

ENGAGING WITH YOUR AUDIENCE

You can’t just post a video on social media and then walk away. Engage with the comment section, or go one better—pose a question in your video to encourage people to comment! Integrate those comment sections into your own website as well using an MRSS feed, or let users rate and comment right on your own site.

You should also include hashtags in your posts as a way to engage with ongoing social conversations. It has the added benefit of making your content easily searchable so that relevant viewers are more likely to find it. Think of social media as a conversation between your company, your audience, and the world at large—and be an active participant in that conversation.

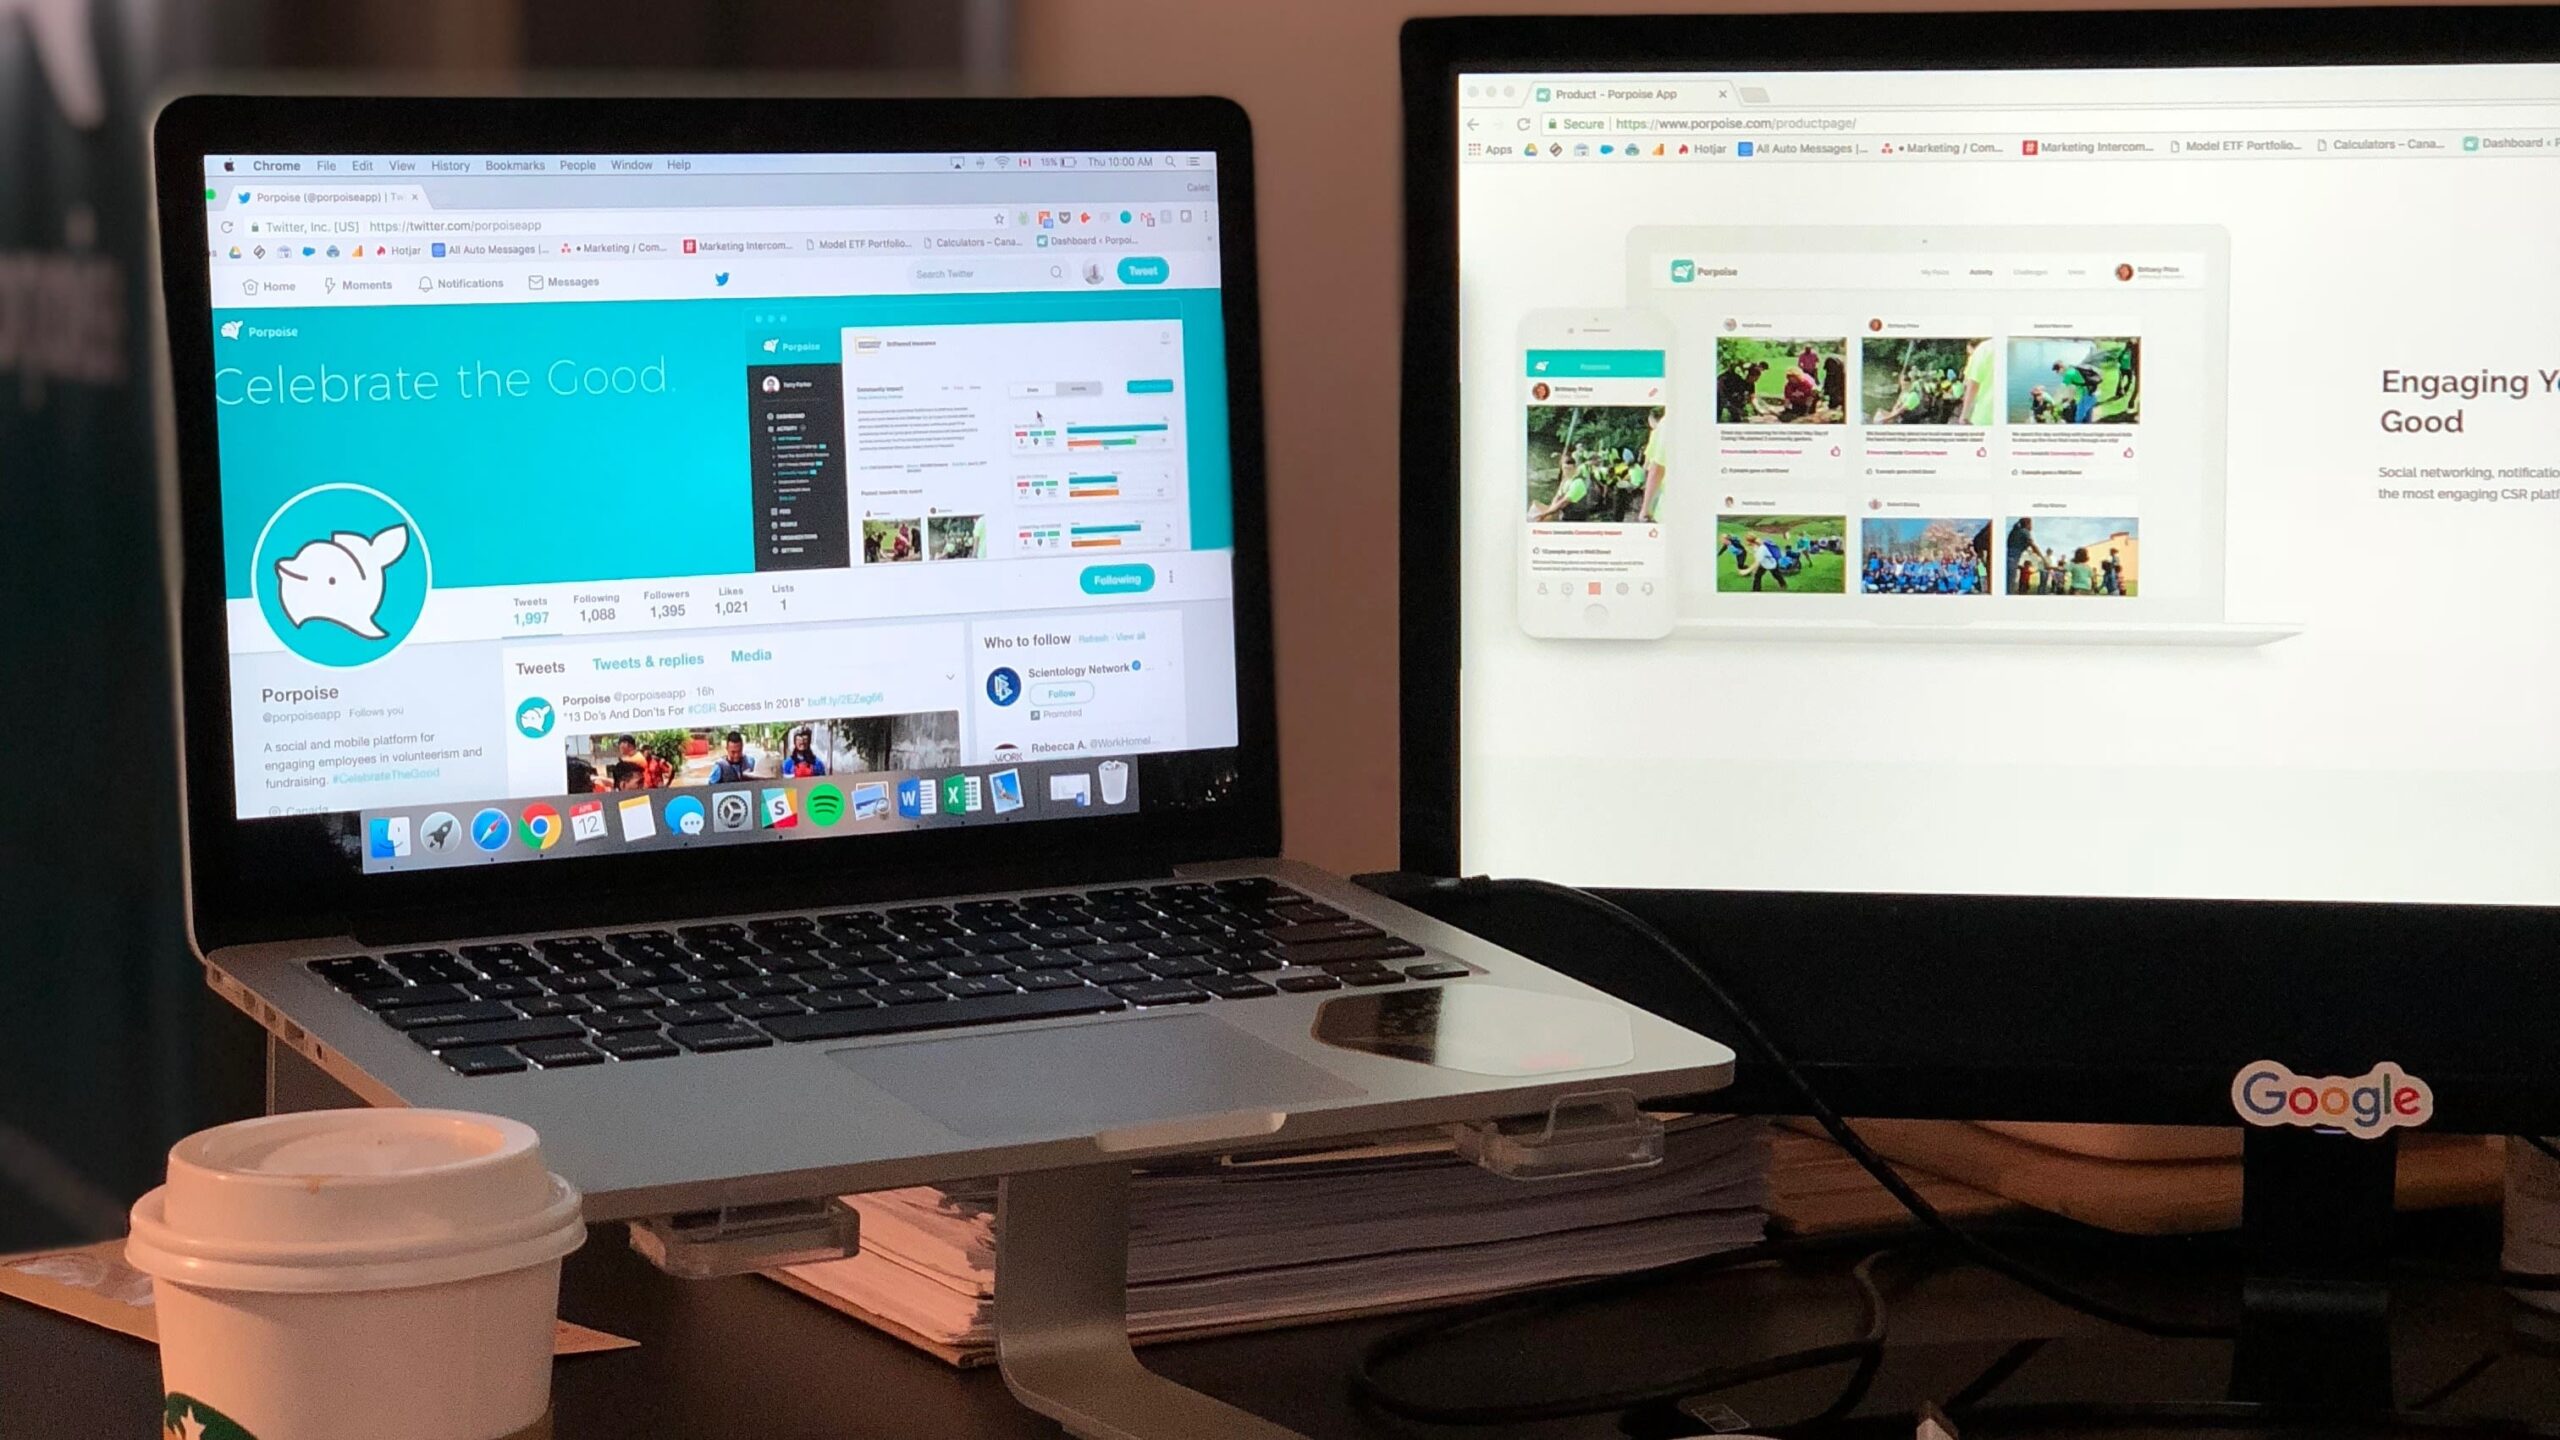
OPTIMIZING FOR EACH CHANNEL

On social media, you have the opportunity to go beyond sharing clips of content that already lives on your own website. Consider creating video content that is unique and specifically tailored to one of your social networks. At our PLAY 2019 session called Evolving the Publisher Business Model, the team from Meredith Corp described how they’ve created 20 shows specifically for Instagram TV. You don’t have to create 20 shows right off the bat—but see if you can brainstorm a video series for Facebook or LinkedIn, depending on where your audience is most active.

SOCIAL LOGIN

If you provide a subscription service, enable social login for your users. Not only is it convenient for them to login to your subscription service using their social media credentials, but it also makes it easy for them to organically promote you. It also allows you to learn more about your audience, so you can recommend the most relevant content and ads to them.

HOW TO WRITE A VIDEO SCRIPT

So you’ve convinced your boss to start using video. Of course, now’s when the hard work begins. And if you’ve never written a video script before, it can seem a little intimidating. After all, the best videos hardly seem scripted at all. But no matter how down-to-earth, authentic, or quirky a video might be, it definitely started with a script.

Writing a script is different than writing a text piece—keep reading to find out exactly how. But even if you’re a scriptwriting newbie, there’s a reliable workflow that you can rely on to get it done:

1. IDENTIFY YOUR GOAL AND YOUR AUDIENCE

Before you ever put pen to paper (or fingers to keys, more likely), you need to answer a few questions. Why are you making this video? Who is the viewer? And what problem might this video solve for them?

It’s only with a clear goal and a vision that you can make an effective video. The answers to these three questions form the foundation of the work you’ll do in Steps 2 and 3, so be thoughtful and get alignment from key stakeholders before you move forward.

2. FIGURE OUT YOUR HOOK AND YOUR CALL TO ACTION

Your video needs a hook. Kicking things off with an element of surprise or introducing a feeling of suspense can be effective, but you don’t need to try too hard. Your hook can be as simple as introducing the problem you identified in Step 1. You’ll draw viewers in by briefly describing a challenge that resonates with them, and then explaining how you’ll solve the issue by the end of the video.

Speaking of the end of the video, it should close with a clear call to action, and this is where you can refer back to your video’s goal. Tell viewers exactly what you want them to do next, whether it’s subscribing to your email list for more tips, following your brand on social media, or downloading an e-book.

3. CREATE AN OUTLINE

Once you know where your video begins and ends, you can start connecting the dots. Create a detailed outline, with a clear section for each part of your video—the hook, the middle (where you dive into your topic), and the conclusion/call to action. Every element in your outline should align with your goal and the topic at hand. During this step, you can begin deciding which parts of your video can be represented visually using b roll or graphics.

4. WRITE YOUR ROUGH DRAFT USING A SCRIPT TEMPLATE

Video scripts should be written in a two-column script template like this one. One column will contain the words your on-camera talent will say, while the other column includes cues for visual elements and descriptions of what’s happening during the voiceover (or VO, as it’s more commonly called).

Writing for a script is a little different than writing a text piece. In order to achieve clarity within the tight confines of a video, your script needs to be as simple as possible. For one thing, your sentences should be short. If your sentence contains multiple clauses, it’s probably too long. As you write, maintain a conversational tone and use words that you’d use when speaking out loud—you’re aiming for naturalism here. It helps if you are familiar with the voice of your on-camera talent; keep them in mind as you write.

Overall, you should try to explain your concept as briefly as you can. Even a script that seems short can turn painfully long when it’s read out loud. A good rule of thumb is that 100–150 words will give you about 60 seconds of video.

Example of a Video Script template

5. EDIT RUTHLESSLY

When the words are finally on paper and you feel like you’ve covered everything from your outline, the hard part begins. Editing is more essential than ever when it comes to video scripts. Cast a critical eye over your work, looking for a few key fixes:

  • Can any words be replaced with simpler options? Don’t say “implement” when you can say “do” instead. You’ll get extra points if you can replace an entire phrase with a single word (example: replace “due to the fact that” with “because”).

  • Can any sentences be simplified? Remember, the simpler the better. You’re not insulting the intelligence of your audience by making things simple—you’re making your message more clear.

  • Can any of these concepts be represented visually, rather than through VO? You want to show, not tell. If a concept can be shown through b roll instead of being described out loud, take it out of your VO and move it into the “video” column of your script.

6. READ IT OUT LOUD AND EDIT AGAIN

When you feel like your script is as concise and clear as it’s going to get, it’s time to read it out loud. Inevitably, you’ll encounter words and phrases that sound unnatural when you say them out loud, or you’ll stumble through a certain sentence. Edit those parts of your script until you can easily read it all the way through. Time yourself as you read, pausing for any visual elements that need to stand on their own. If you’re in the right ballpark for the video length you’re aiming for—great job! If not, keep editing.

Finally, have your on-camera talent read the script for you. If they are stumbling over any words or phrases, figure out how to simplify or rephrase them.

7. PUT IT IN THE PROMPTER

Now it’s time to shoot. Here at Brightcove, we use an Autocue Teleprompter so that our talent doesn’t need to memorize their lines. It helps to convert your script to all caps (you can convert from sentence case to all caps easily in Word, or in Google Docs with the “Change Case” add-on) so that the prompter is easy to read from a distance of several feet—you don’t want any squinting! Make sure there are no unnecessary gaps or spaces in your script; those may lead to awkward pauses when the Teleprompter is blank for too long.

You may find that your script needs a few last-minute tweaks—be on-set with your talent during the shoot so you can make edits on the fly and reload the prompter.

Now that you’re prepped for writing engaging video scripts, you’re ready to learn how to optimize video campaigns for conversion, tailor your videos for different marketing channels, and maximize your video audience.

A LOOK AT BRIGHTCOVE’S IN-HOUSE VIDEO STUDIO EQUIPMENT

OUR VIDEO PRODUCTION EQUIPMENT

Every artist has their special tools. Michelangelo’s chisel and stone. Dalí’s paintbrush and canvas. Shakespeare’s pen and paper. Well here at Brightcove, our video team has some pretty cool tools too.

Cinema and DSLR cameras, photo lenses, plasma, fluorescent, and LED lighting, boom and lav mics, and a whole lot of accessories to boot.

Having a variety of video production equipment in your in-house studio allows you to produce professional looking video that you can leverage in myriad ways for your company.

Figuring out what to buy can be tricky, and expensive. You want to have the necessary tools you need to produce great looking video content, but also need to keep your budget in mind. There are so many options for cameras, lights, lenses — options for everything even down to headphones and memory cards.

To make things easy and help you with your production equipment shopping experience, we’re going to tell you everything we have in our video closet:

CAMERAS

  • Canon EOS C200. The need to shoot in 4K prompted us to upgrade to the C200, and now we shoot almost everything with it—including the videos you see in this post.

  • Canon EOS C100 Mark II Cinema Camera. The C100 is a reliable and an affordable option for anyone looking to create professional quality video content.

  • GoPro Hero 5 Black. We use this primarily for time-lapse shots at events, but we have also used it for fun internal videos featuring our employees. While having a GoPro is not necessary, it can be a fun camera to play with to get some creative clips.

LENSES

We mainly use three different lenses for our cameras at Brightcove, all in the Sigma family. Using three lenses from the same brand makes color-grading much easier, since all the footage comes out looking the same.

  • Sigma 18-35 f/1.8. This is our workhorse lens; we should almost everything with it. The clarity on this lens is awesome, and it’s great for shooting 4K.

  • Sigma 14-24 f/2.8. If you want to shoot super-wide, this lens gives your footage a primo look and a sense of space. We used it to shoot overhead shots of the ballroom at our annual conference, PLAY.

  • Sigma 50-100 f/1.8. This big lens is awesome on a B cam for interviews. It gives a creamy bokeh to the background of your shots.

LIGHTS

  • Hive Lighting Wasp Plasma Light Kit. We love our Wasp. It’s our main light for almost everything we record. We also use a Chimera Lightbank Softbox with this light to soften it when recording people or close up product shots. This light gives off no heat, lasts 10,000 hours, and produces great colors for your lenses. If it’s within your budget, get this light!

  • Kino Flow Diva-Lite Kit. The kit we have has two Diva-Lite fixtures and came with diffusers, tripods, and a carrying case. We have taken ours on the road many times, it’s a great kit to get started with and provides awesome lighting for interviews and more.

  • Westcott LED Ice Light. Aside from being awesome for looking like a light saber and being used in an Arcade Fire video, the Ice Light is an amazing lighting tool that can be used in many environments. It’s great if you’re at an event moving around a lot, and in the studio it works well as a backlight on a paper background or for adding a little extra light on someone’s face.

MICROPHONES

We primarily use three microphones for recording video for interviews, in the field, and for recording voiceovers. Here’s what we have:

  • Audio-Technica AT4053b Hypercardioid Condenser Microphone. We use this shotgun mic whenever possible in-studio and around the office. The boom mic in our studio is propped up using a K Tek Boom Pole resting on an Impact Turtle Base C-Stand with an Auray Boom Pole Grip Kit. While these three items are all sold separately and are not cheap, it’s a durable and professional setup that will last forever.

  • Sennheiser MKH-416 Shotgun Microphone. We use this mic when we’re heading outdoors for a shoot since its specialty is external audio.

  • Sennheiser G3 Camera Mount Wireless Microphones. Lav mics come in handy when recording interviews and speakers at events or meetings at the office.

  • Blue Yeti USB Microphone. The Blue Yeti is durable, picks up great sound, and is pretty much ready to go right when you plug it into any audio software program. It has multiple recording settings and is even great for recording podcast audio.

ACCESSORIES

For tripods we have a Sachtler Tripod System and a couple of Manfrotto tripods, plus a Manfrotto Monopod. We use 64GB SanDisk Extreme Pro Memory Cards. For motion, we use a Kessler Pocket Dolly Traveler, plus the Mini version.

For scripted videos we use the Autocue 17″ Teleprompter. Smaller accessories we have kicking around our studio are a set of Matthews Apple Boxes for getting the camera or a person to be the right height and Impact Sandbags to weigh down our tripods that hold up our delicate lights.

We use a Manfrotto Expan Drive Set to hang backdrops in our studio because it can hold up to three at a time, which makes our lives easier because we can pull down whichever one we need at the time.

Our Leatherman OHT multitool has a blade, serrated knife, screwdriver, hook, and bottle opener, and being able to use it one-handed is a lifesaver on set.

We recommend starting by buying what you need to get the job done at first and then moving up to better gear as you starting producing more videos. Another thing we recommend is renting equipment and trying it out before buying it. Figuring out what gear works best for you will help you define the look and feel of your videos.

B2B MARKETING VIDEOS 101

In today’s B2B marketplace, video can play a powerful role in engaging and converting your target accounts. According to Wyzowl’s The State of Video Marketing 2018 report, 97% of marketers say video has helped increase user understanding of their product or service—and 76% say it helped them increase sales.

Not sure where to begin when it comes to B2B marketing videos? Here are some general best practices to ensure your content is as effective as possible—and a guide to the types of videos you can make.

VIDEO MARKETING BEST PRACTICES

There are a variety of factors and procedures you should keep in mind to ensure your video campaigns are as successful as possible.

KNOW YOUR AUDIENCE

In order to create valuable B2B marketing videos, you must understand your audience and their needs. Ask yourself the following types of questions:

  • What types of information are customers looking for when it comes to your brand and product offerings?

  • Do you need to fill a particular knowledge gap?

  • What types of resources will help your point of contact create a powerful business case?

  • Which professional roles do your customers normally fill, and how can you develop characters and personas that represent them effectively?

DETERMINE YOUR DISTRIBUTION STRATEGY

Before you begin working on a script and overarching concept for a particular video, you should understand where this particular asset is going to live. After all, the video’s “home” should play an important role in determining how long it should be, what type of tone you should use for this asset, and more. For instance, a video for social should be much shorter than that for a landing page—and can be written in a much more fun and light-hearted tone.

ESTABLISH YOUR BRAND STYLE

While your videos can certainly vary in length and format, it’s important that all of your assets appear consistent. Before you launch your video marketing plan, make sure you come to an internal agreement on the look and style of these videos—as well as your overarching messaging (from both a product and persona perspective). By creating a consistent brand style, you can establish a visual identity amongst your audience, thereby increasing your overall “stickiness.”

ALWAYS INCLUDE A CTA AT THE END

So your customer or prospect just watched one of your videos: Now what? In order to maximize the ROI of these assets, you must always give your audience a clear next step to take. Create actionable CTAs that link out to relevant landing pages where you can earn a conversion—such as a product page or a Contact Us form field.

TYPES OF B2B MARKETING VIDEOS

In a world of endless video possibilities, it can sometimes be difficult to know which content types to prioritize—and how to incorporate these assets into the customer journey. While your specific video strategy should depend on your overall marketing and sales goals, creating the following types of videos can be a great place to start.

BRAND VIDEOS

A short video that provides a quick overview of your company, products, or mission statement is an extremely valuable top-of-the-funnel asset. These types of videos can give a behind-the-scenes look into your brand—highlighting the people and offerings that make it unique. Overall, these assets serve to help prospects understand the basics of what your company does and represents, allowing them to make an informed decision about whether they want to connect. You can think of a brand video as a more visually appealing and engaging way to get your “About Us” content out into the world.

PRODUCT DEMOS

Before your prospect even considers signing on the dotted line, they’re going to want to make sure they understand the full functionality of your product suite—and how your offerings will improve their day-to-day operations. While it’s always important to provide these types of details in writing on your product pages, you can really take it to the next level by showing your products in action. Create product-specific video demos that highlight specific functions, outline individual use cases, and answer frequently asked questions.

CUSTOMER TESTIMONIALS

When you’re operating within the B2B marketplace, it’s important to remember that your point of contact will likely have to make a business case to his or her boss in order to invest in your technology. Of course, making these cases successfully requires multiple proof points that highlight your company’s value.

This is where customer testimonials can be extremely powerful. These videos should highlight one of your current customers’ success stories—calling attention to how your product(s) helped them to increase revenue, overcome a specific challenge, or reach a particular goal. This message will resonate on a deeper level when it comes from your customer’s own words.

WEBINARS

Another way to capture the attention of a target account is to demonstrate your company’s expertise. By creating informative webinars focused on the specific industry topics your audience is interested in, you can highlight the value of your partnership in an exciting new way. In a world where viewers are bombarded with promotional content on a daily basis, a thought leadership webinar can break through the noise. Whenever possible, choose an internal subject matter expert to lead the webinar, as doing so will highlight the level of knowledge your team possesses.

LIVE STREAMS

By adding live video into your marketing mix, you can grow your audience, enhance brand awareness, and build unique content that you can repurpose into video on demand (VOD) assets down the line. Not sure where to start? Consider live streaming interviews with in-house subject matter experts, scenes from the show floor at an industry event, or your team’s presentation on a trending topic. By live streaming directly to your social channels, you can increase your reach even further.

Overall, video can be a powerful tool for getting your brand name out there and increasing engagement with your current customers and prospects. By following the tips and best practices outlined above, you’ll be well-equipped to start incorporating more video into your B2B marketing strategy today.

FIVE STEPS TO EFFECTIVE VIDEO LANDING PAGES

Video landing pages are an effective part of marketing campaigns. After all, video is the most engaging media out there—and engagement is a key step on the buyer’s journey. But if you’re going to add video to your campaigns, you can’t just slap any video on any landing page and call it a day. Here are five steps to making video landing pages that actually work.

VIDEO LANDING PAGE DO’S

1. PUT YOUR VIDEO IN CONTEXT

Does your video align with the rest of the content on your landing page? If not, you run the risk of confusing your audience and turning them off. If your landing page is informative and educational, don’t add a video that’s focused on your product. Take a video-first approach in your campaign planning—that means you have video in mind right from the start, then build your landing page around the primary message within that video.

2. MAKE YOUR VIDEO BIG

Have you noticed how screens keep getting bigger?  Our phones, tablets, living room TVs and even movie theaters are all getting bigger. Video demands to be BIG, and the same is true for your landing page. Viewers love videos that fill the screen—and the fact is, when it’s big, they’re more likely to click “play.”

3. PUT YOUR VIDEO FRONT AND CENTER

Speaking of filling the screen, your video should be front and center when viewers arrive on your landing page. Do you have a hero banner at the top of your page?  Maximize that prime real estate and make it a video. You’ll quickly capture your visitors’ attention and keep it.

4. CHOOSE YOUR THUMBNAIL WISELY

There’s a hurdle to your viewers clicking “play” on your videos; they want to know if it’s worth their time before they start watching. You need to tell them exactly what they’re getting right off the bat, and a clear, helpful thumbnail is how you do that. You can even add text so it’s super obvious (example: “Three tips to maximize SEO”). Having a person in your thumbnail also entices viewers to click “play.”

SEO is commonly overlooked with video content—but it shouldn’t be. Video Schema Markup helps search engines crawl your video content and deliver your pages to the right audience in search results. Check out our post on video SEO to learn how it’s done.

VIDEO LANDING PAGE DON’TS

We’ve gone over the things you should be doing, but there are also a couple things you should avoid when adding videos to your landing pages.

1. AUTOPLAY

When people go online, they want to be in control of their experience. When they land on a page and a video starts playing immediately (especially with sound on—yikes!), they’re understandably upset. Don’t set your videos to autoplay. Exception: If you are driving people to your video landing page from an email, autoplay is actually a better experience. Your viewers have already clicked the thumbnail within the email; they don’t want to click again.

2. LIGHTBOXES

Video lightboxes are pop-ups that take over your webpage. These are just another way of taking control away from your viewers; they can’t scroll away or look at any of your other landing page content while the video plays. Embed your video natively, within the landing page so that your viewers can interact with it however they choose.

New Feature: Live Analytics

“This function has been something that many people have been requesting for a while, and it has finally been implemented in Brightcove Live.
To explain this function briefly, you can check metrics specific to live streaming (such as the number of concurrent viewers and trends) during and after live streaming. Let’s check out the function right away.”