How We Did It: Amp Up Your Video Production Webinar
Marketing
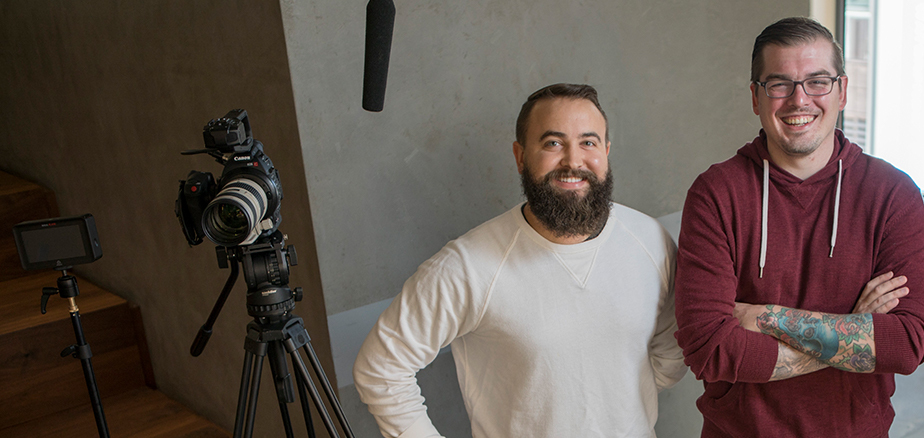
A few weeks ago, we hosted a video webinar outlining areas of focus to keep in mind when building an in-house video production capability. When we first created the presentation, we wanted to keep the technical elements simple. In order to do that, the team decided on the following:
- Only have two people on camera.
- Use one static camera, so we didn’t have to hire additional help or rent gear.
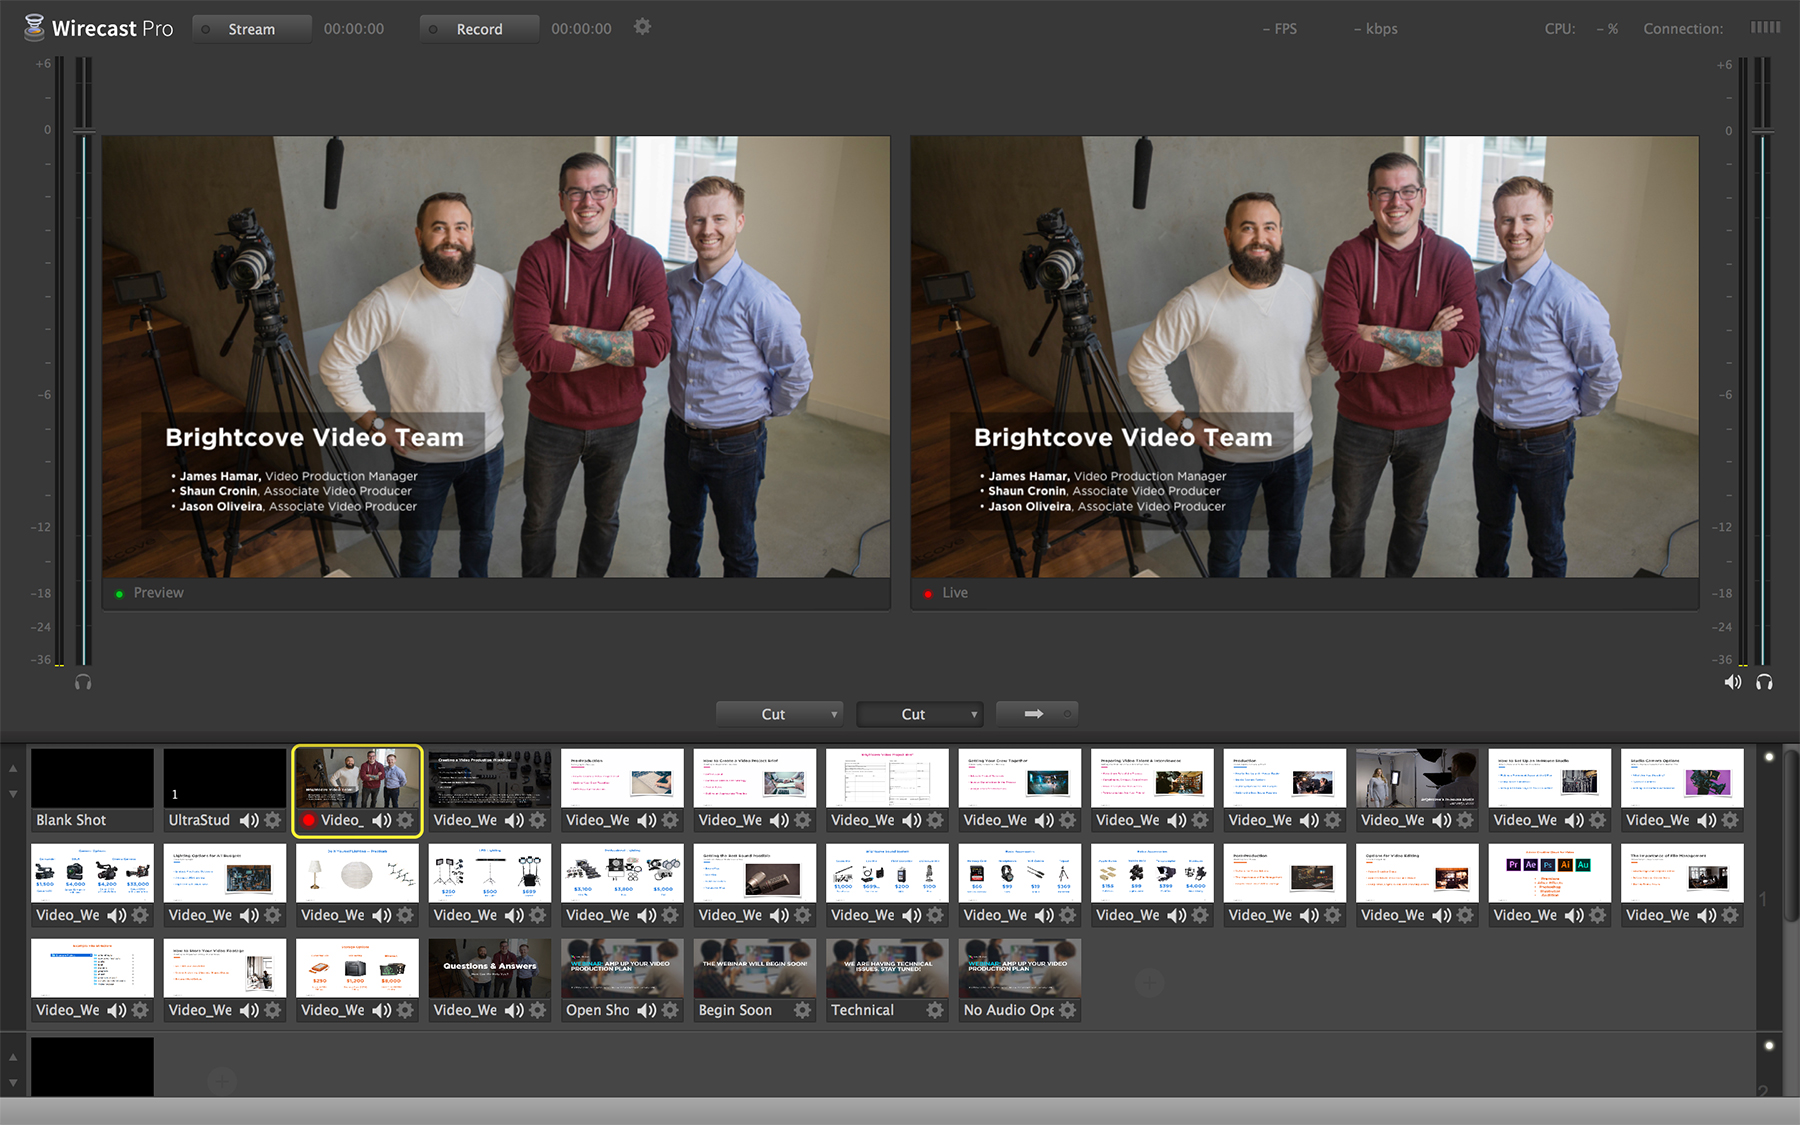
- Utilize Jason Oliveira, our video producer, as our technical operator, so he could switch between camera and images.
- Shoot the webinar in our own studio space.
- Use the gear and furniture we had available to show viewers how they can do something similar.
The Presentation
With this decided upon, we refined our presentation and went through internal reviews. After these rounds we realized the presentation would drag on. Cuts needed to be made. We decided on a 30-minute rundown of information aligned to the three major phases of video production.
- Pre Production
- Production
- Post Production
Using Brightcove Solutions to Execute
We leveraged Brightcove Gallery to house the event, for two reasons:
- We could use Brightcove Live to integrate the broadcast directly into the gallery page. This made it incredibly easy to facilitate and troubleshoot any issues that may have occurred.
- Using the live template, we could design the three main sections of the event webinar: a pre, during, and post event state. This ensured that at any time someone went to the link - the visual presentation would be at a high quality.
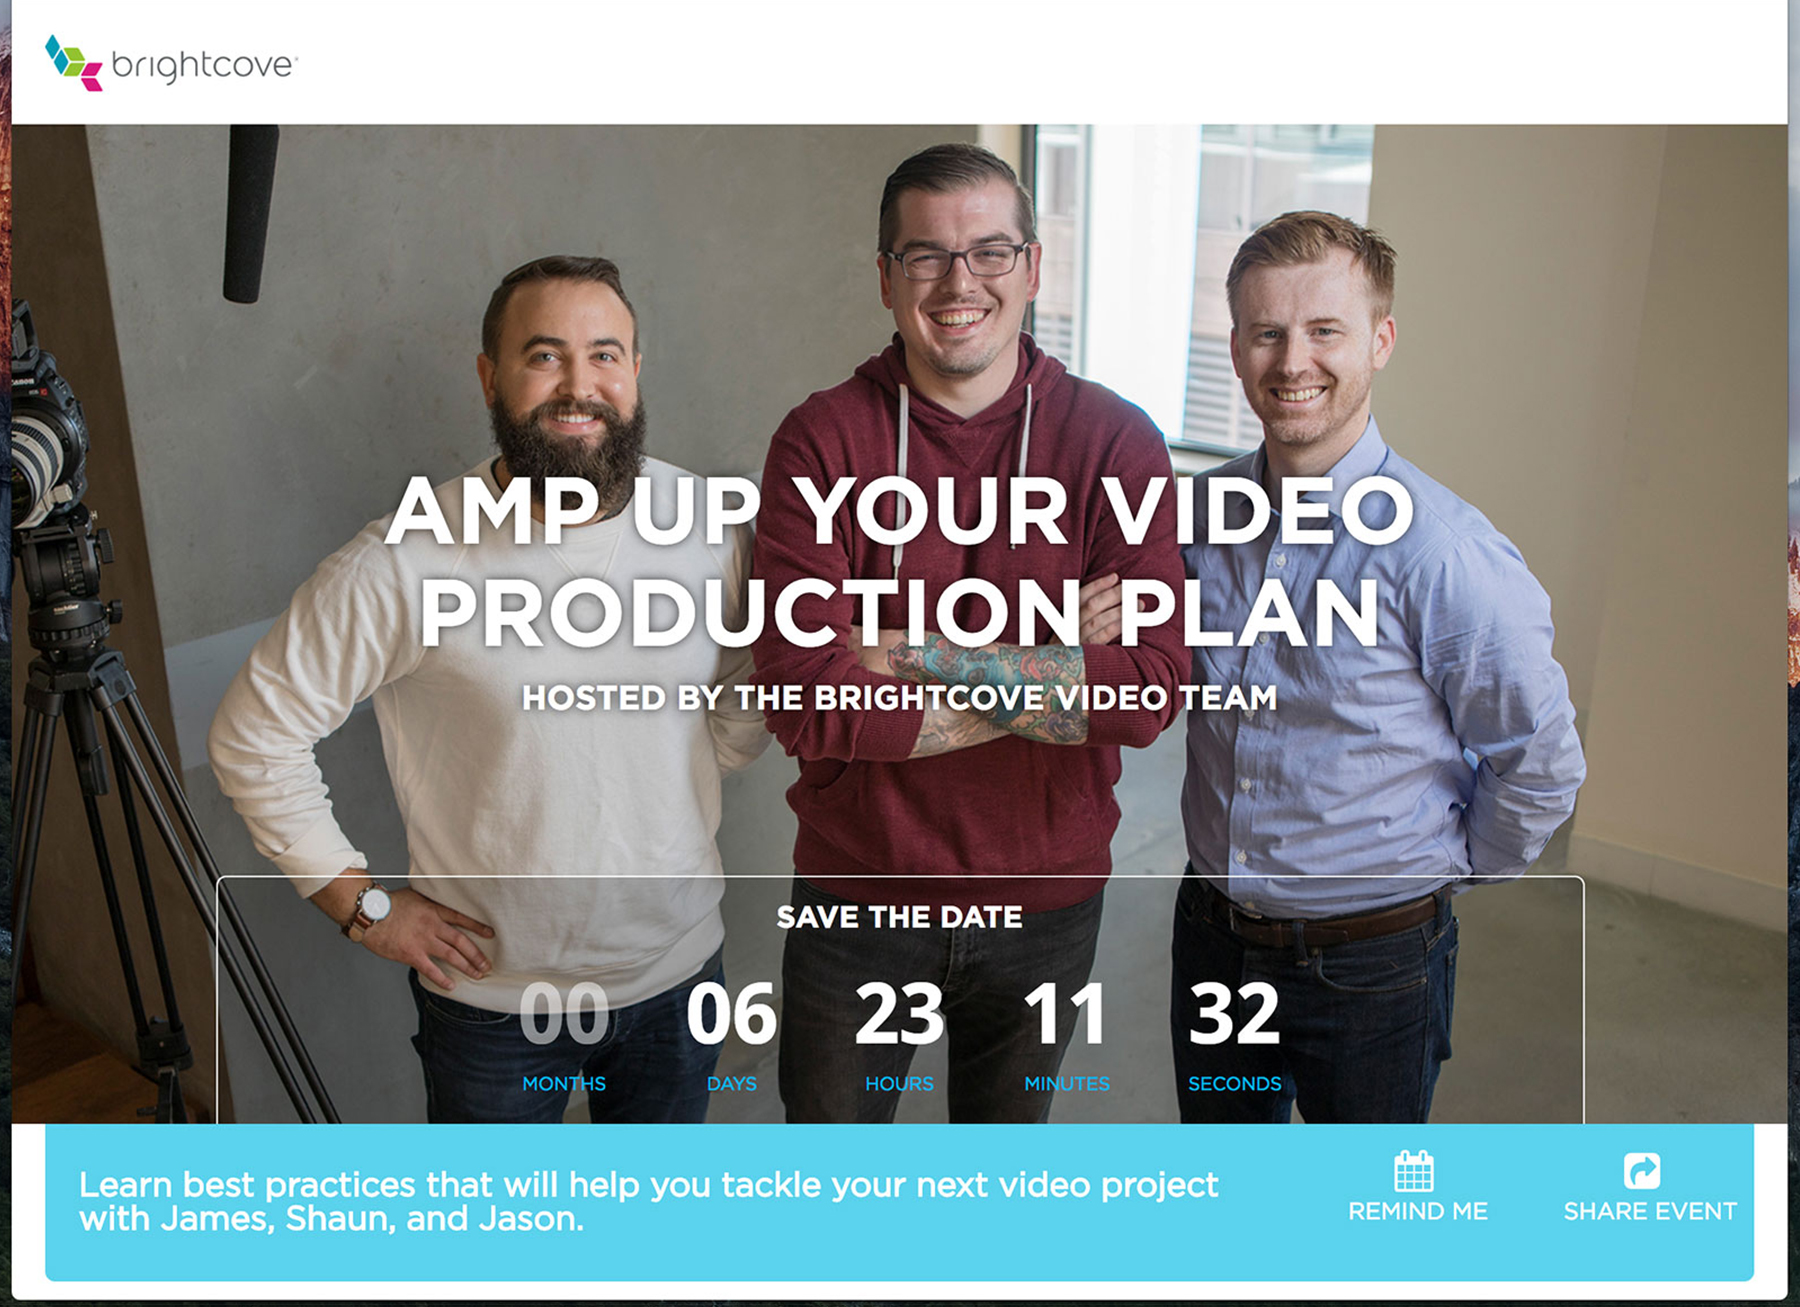
What it looks like before. We had a quick promo photo shoot done to cover any promotion that was going out.
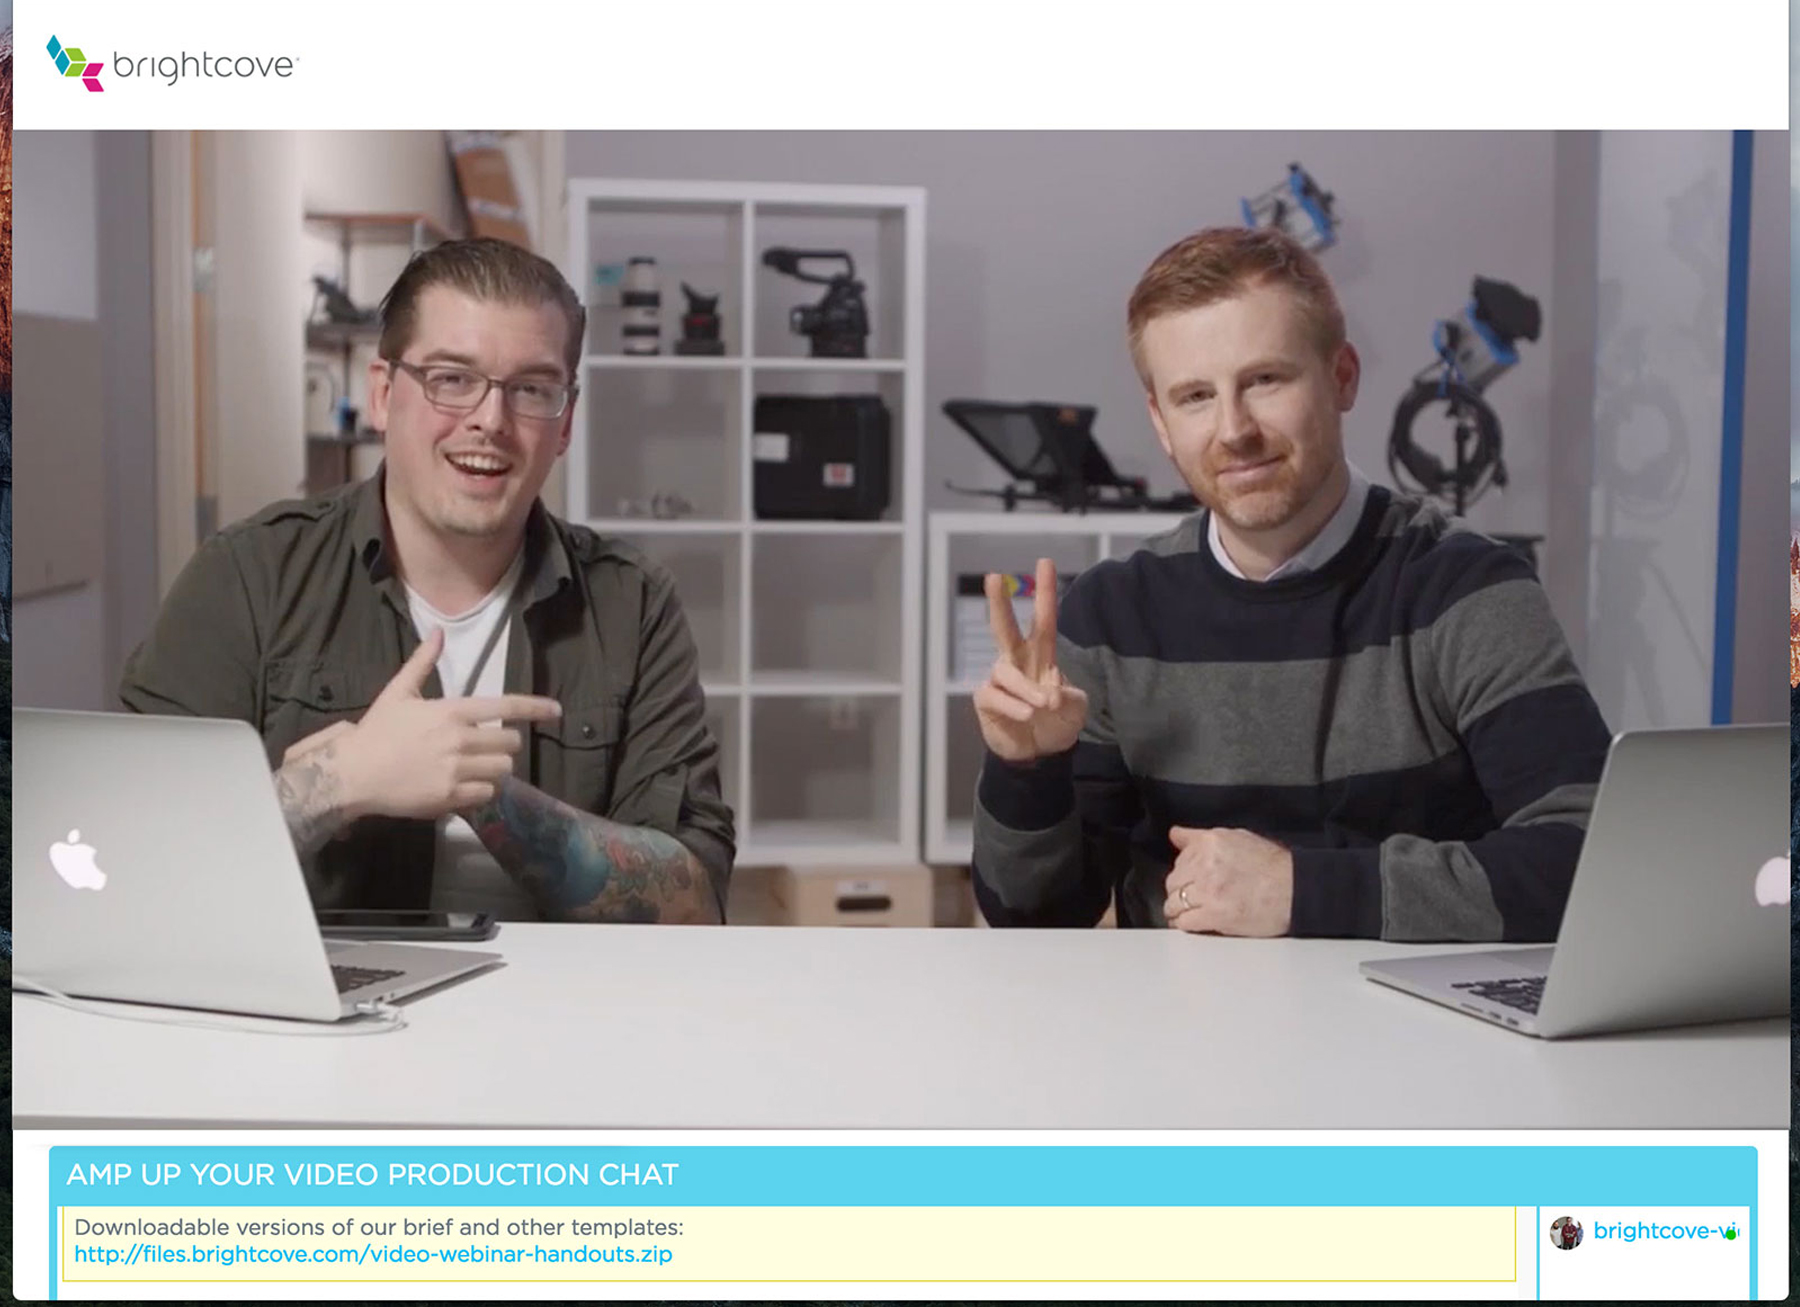
What it looks like during.
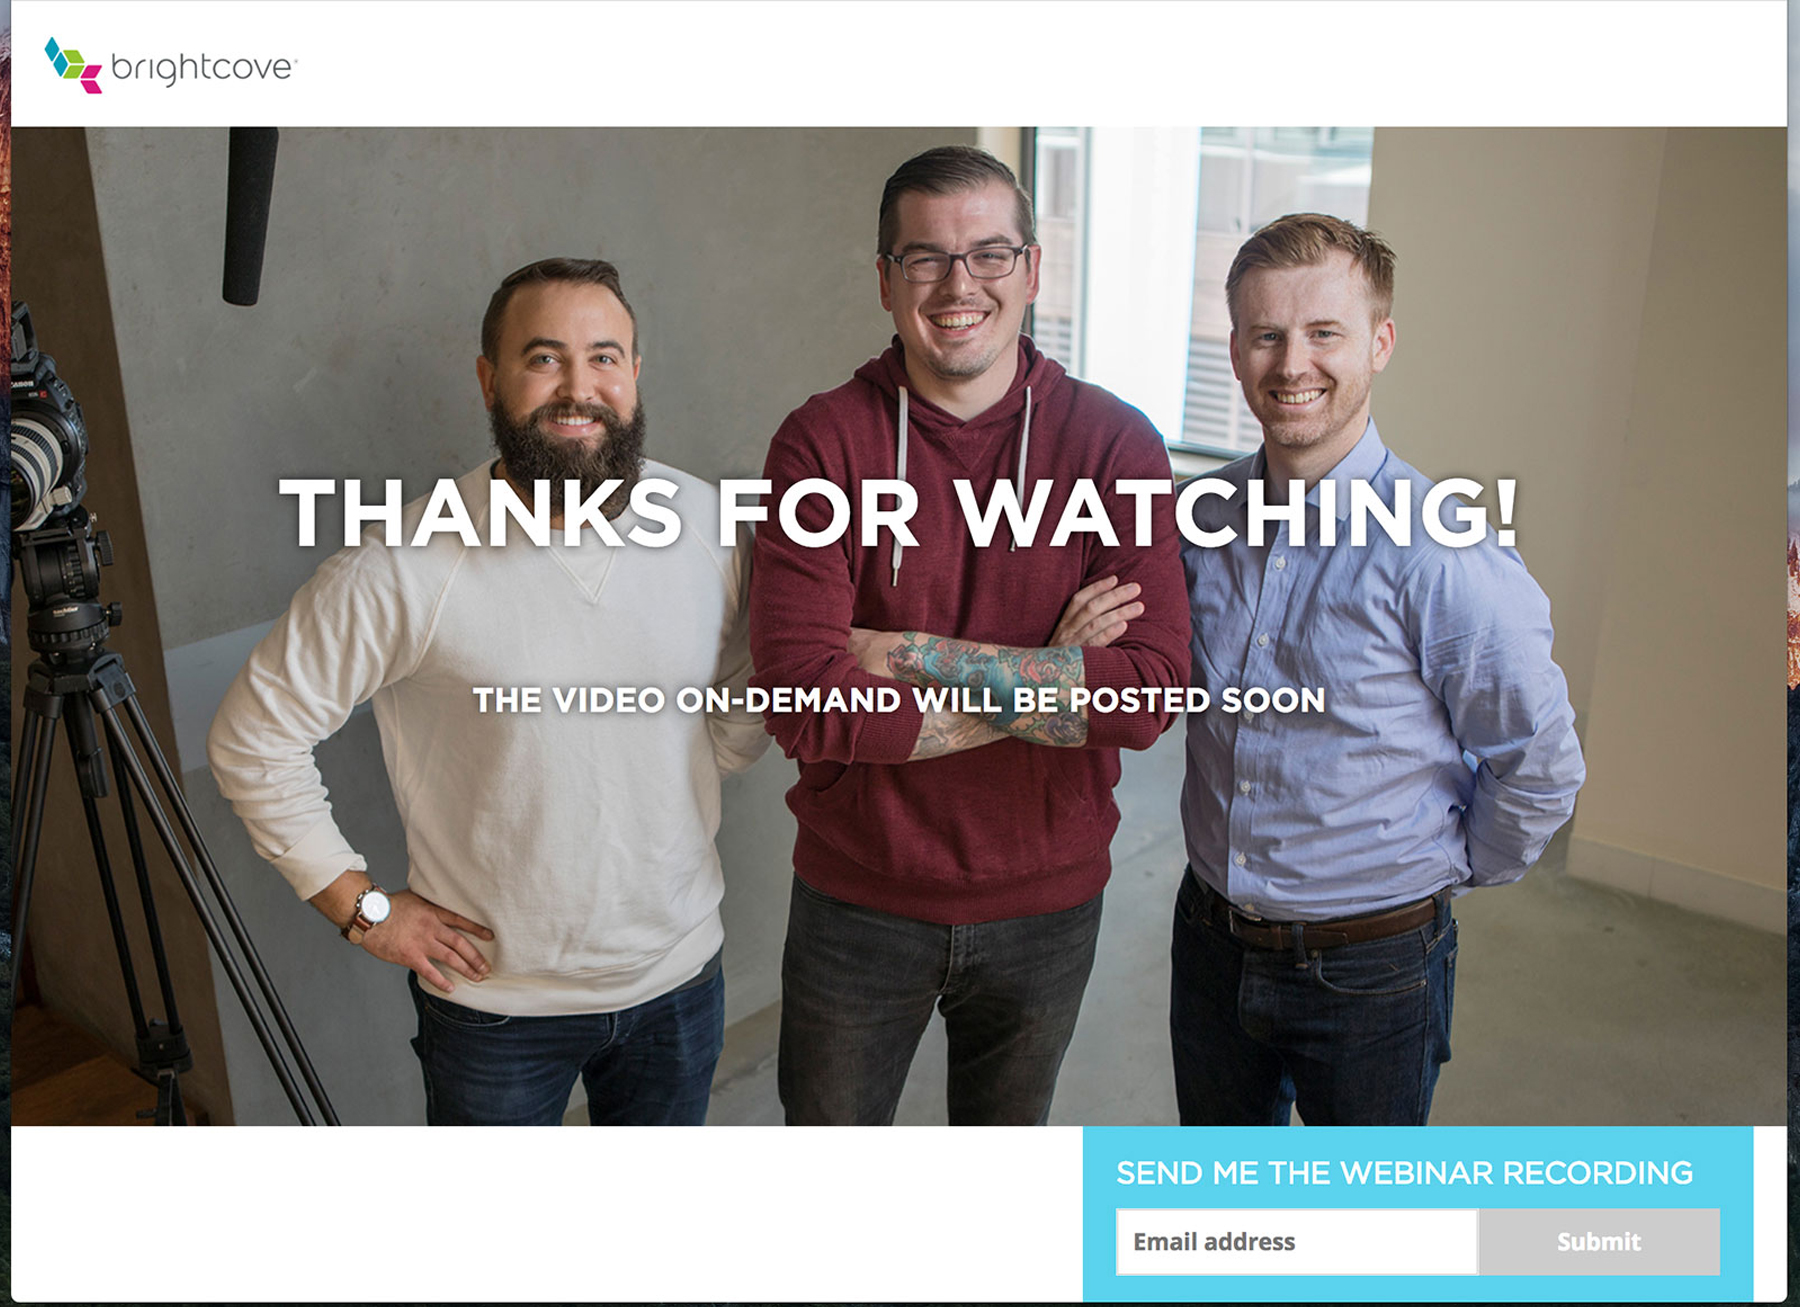
What it will look like after.
We added CSS code to the gallery page so that the type and graphics matched our brand, and would render nicely as part of a responsively designed layout. This was the first time Brightcove had run a content webinar like this and we were hoping to draw in a new audience. For us, this meant we had to create something that would look great beyond just a laptop or a desktop computer, which is where our audience mostly consumes our video content.
The Studio
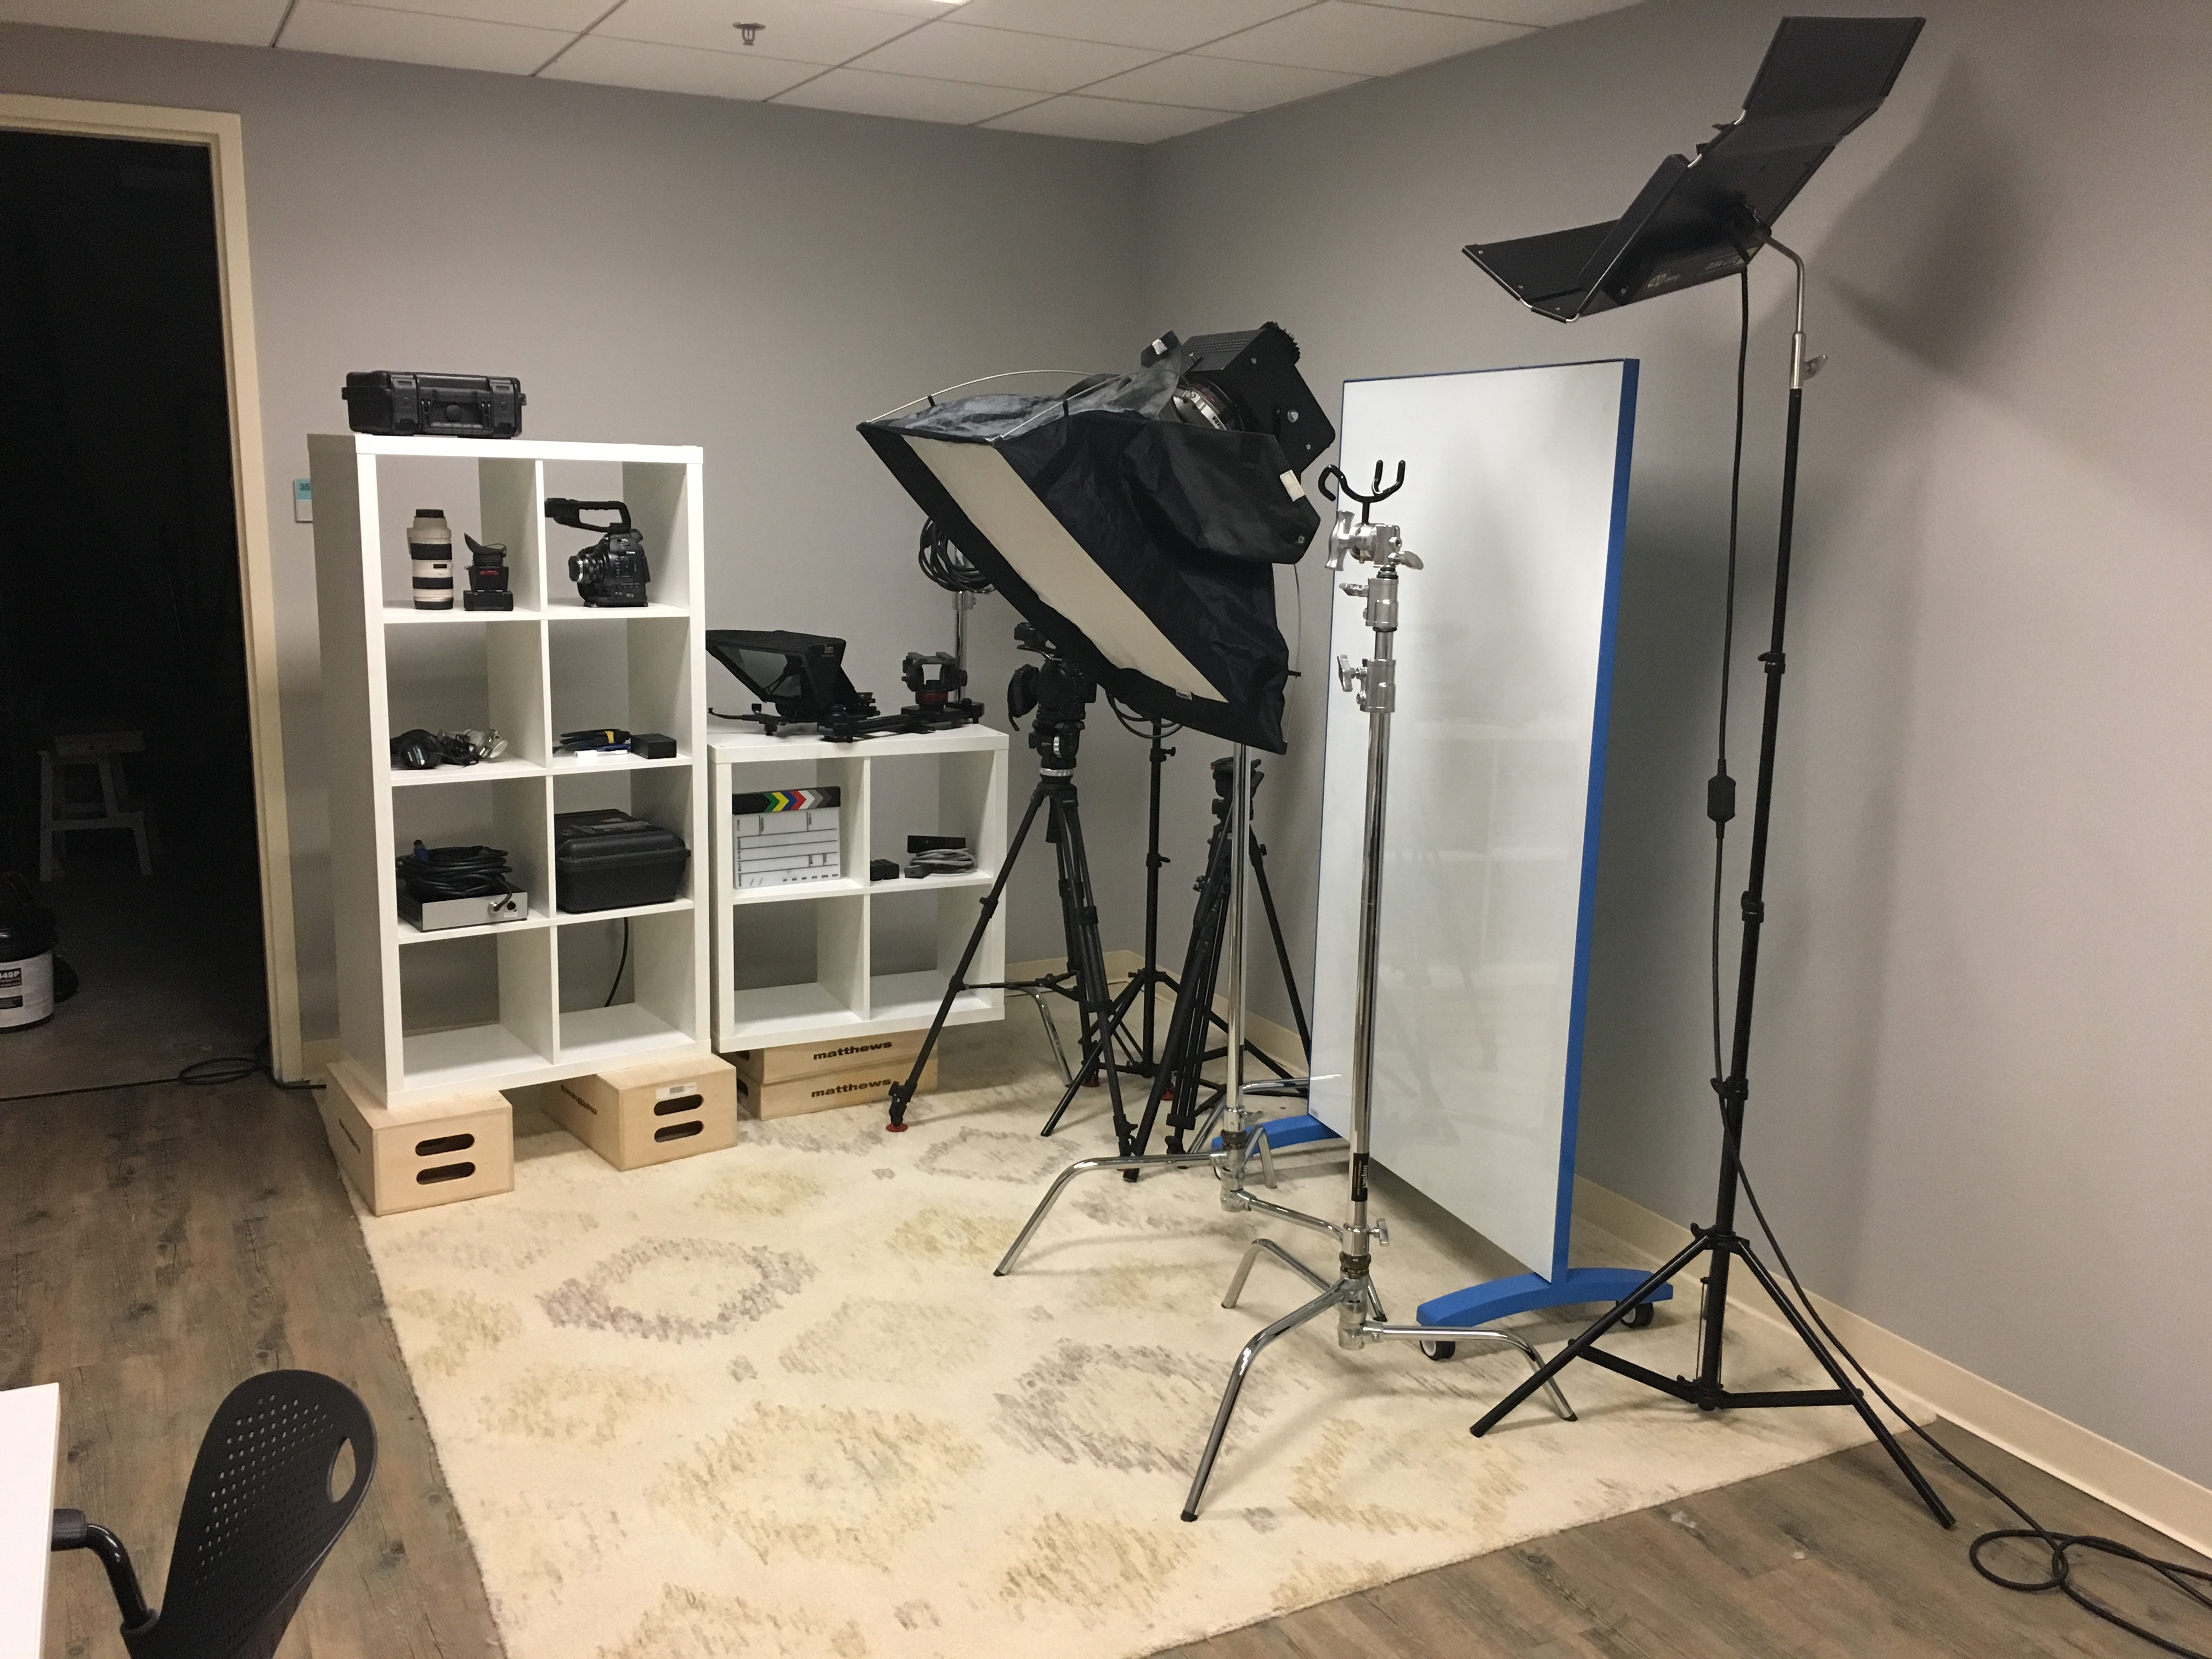
We used our in-house studio space to film the live webinar.The one thing to note about our studio is that we have a big rug and soundproofing panels on the walls. If you’re trying to recreate this in a conference room with a hard floor or surfaces, or something similar, you might want to bring moving blankets or use Lav mics instead of using the Boom setup like we did.
The Shoot:
We lit our storage closet and the bookcases with KinoFlo Divas, and we used Hive Wasp lighting for ourselves with a Softbox placed on the other side of the table. We use these lights for many of our shoots, so they are on the pricier side. However, you can recreate this with ARRI tungsten or DRACAST LED lights.You may even need more lights, but this is a pretty basic setup.
As for the camera, we had a Canon C100 placed right in front of us, set at about 35mm and hooked up to a Sennheiser boom mic hanging right over our heads. To hook the camera up to our laptop to stream, we used a Blackmagic Ultrastudio Mini Thunderbolt Box.
The Broadcast:
We broadcasted through Brightcove Live, which pipes directly into the gallery page. To operate the webinar we used Telestream Wirecast, which enabled Jason to switch between our camera feed and the graphics from our presentation. Everything was fed into a Macbook Pro, so Jason could switch our Gallery Page from pre-state to the live broadcast, stream the footage, and direct the presentation from Wirecast. Once it concluded, he was able to end the broadcast and flip our page to the post state.
There is often a stigma that it is too complex or prohibitively expensive to live stream a webinar. However, as we have shown, you don’t need a glamorous location or five cameras. Sure, it helps, but the main takeaway is that if you want to engage with people in real-time, such as having a live Q&A or company communication, you can do it too, and keep it simple. The process described above is also by no means the only way to do it; but with motivation, a little training, and the right tools, you can find the right mix to make your live streaming a success.
