HOW FINASTRA INCREASED ROI BY 26X
bsp-admin-1 on December 4, 2024
Finastra enables the financial services world to deliver the future of banking with applications, marketplaces, and an open innovation platform for banks, fintechs, and non-banks to connect and collaborate. Over 8,000 financial institutions in 130 countries rely on Finastra to boost their business performance.
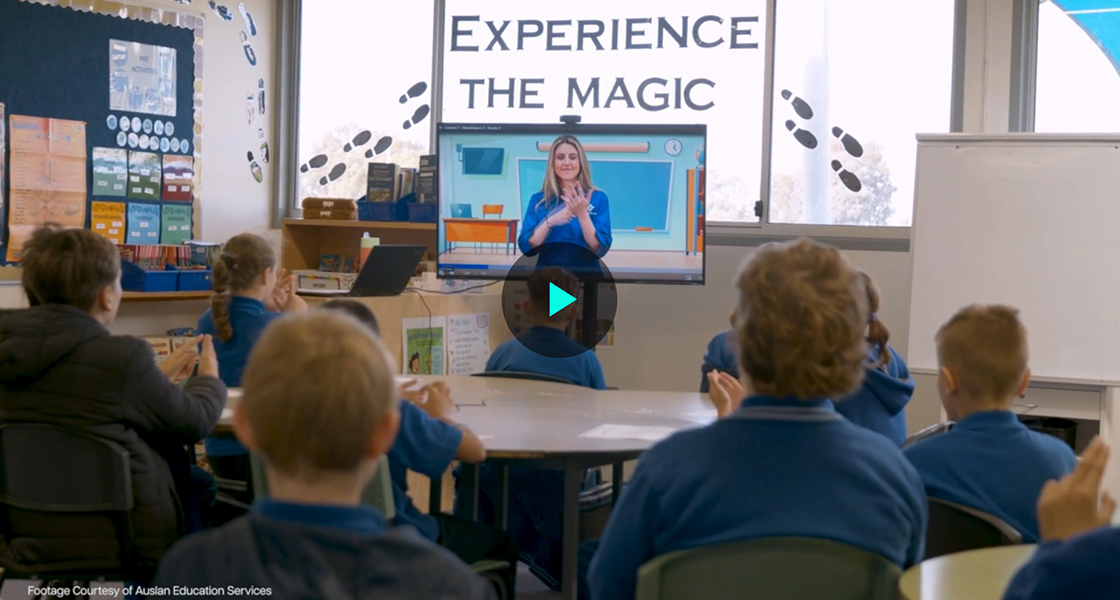
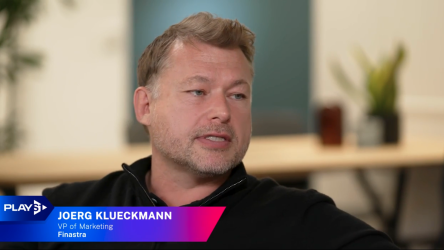
When COVID-19 shut down the team’s traditional channels for connecting with prospects and customers, Finastra shifted fully to digital engagements. However, every digital experience began to feel the same. “We were drowning in a sea of sameness,” said Joerg Klueckmann, Head of Marketing at Finastra. “It got harder and harder to cut through the noise.”
The Finastra team decided to reinvent how they engaged with prospects and clients. To stand out in a digital-first world, they created a new format for education, prospecting, and conversion.
“We decided to build the Netflix for the financial services industry: Finastra TV,” said Klueckmann.
CONNECTING FIRST-PARTY DATA TO VIDEO
![]()
We’ve been using Brightcove for many years, and we knew the quality and service there was exactly what we wanted to create our own channel.
JAMIE STEPIEN
DIRECTOR OF DIGITAL MARKETING, FINASTRA
Finastra took a content-first approach to video marketing. “We produced different series for all lines of businesses at a financial institution,” said Klueckmann. “Each series consists of 10 to 15 episodes. We really tried to think like a media agency. We only produce a new season of a series if we see traction in the viewing data.”
The biggest strategic decision was to un-gate video content for any return visitor. Finastra created a custom-built solution with Marketo and Brightcove that required only one form fill and tracked what each viewer watched. This made the viewing experience more seamless while offering insights into what the audience really wanted to know. In return, this defined the content production schedule of Finastra.
“The strategic framework focused on the first-party cookie so we could capture and own our customer data,” said Jamie Stepien, Director of Digital Marketing at Finastra. “We used Google Analytics and Hotjar data to design the UI and architecture of the Finastra TV experience. And then we used SEMRush to build the taxonomy and optimize for Google findability. We’ve been using Brightcove for many years, and we knew the quality and service there was exactly what we wanted to create our own streaming channel.”
“We developed a custom solution on the channel where we dropped a cookie behind the user’s first Marketo registration form,” Stepien added. “Gating is a thing of the past. Multi form-fills on a site are a thing of the past.”
With Brightcove streaming video and Marketo integrating first-party data, Finastra could promote video content to targeted audiences and understand who watched what and how much of it. Finastra TV quickly became the most popular marketing channel for the team, serving both as an educational resource and a place to build an engaged community.
Furthermore, video marketing became a new inbound channel across both online and offline channels.
OPTIMIZING VIDEO WITH ADVANCED ANALYTICS
With the advanced viewer analytics of Brightcove, Finastra realized that the most valuable interactions with prospects and customers were happening with video marketing content. Especially because Finastra TV became a destination channel.
“In the past, we had video content on YouTube. But we weren’t getting analytics, the data wasn’t integrated with our CRM, and the user experience was very fragmented,” said Klueckmann. “Today, we can see what content each prospect consumes, whether they’re watching a video about green lending or a new regulation, and if they visit another Finastra website. The digital UX is fully integrated within all Finastra’s digital entities.”
By integrating marketing automation with Brightcove, Finastra could identify viewers by name, job title, and behavior. Sales could follow up based on specific video content that was consumed, ensuring every message was relevant. As the lockdowns of COVID-19 eased and physical events came back, Finastra doubled down on video content by integrating it across the marketing strategy.
An important lesson learned was that video content only worked well if it was created for digital consumption. Recording a session from a physical event and making it available on demand didn’t produce the expected engagement. Because of this, Finastra builds studios at events and briefs speakers that a shorter version of the event presentation will be filmed in a proper studio setup. Animations, different camera angles, and high-quality post-processing make the video production stand out. By integrating the event and video strategies, while understanding viewer interaction at a first-party level, Finastra saw a 26X increase in video marketing ROI.
“This is a great example of how marketing can be an innovation driver,” Klueckmann says. “From production to measurement, the marketing team led the video marketing strategy from beginning to end.”
Watch the full PLAY Season 1 episode of how Finastra built their own streaming channel.