
Video Editing Tips for Marketers
Marketing
Video has become so pivotal in marketing strategies that professional video editors can’t always keep up with the demand. To cope, many marketers are taking simple edits into their own hands by using the basic video editing functions available in many Online Video Platforms (OVPs).
OVP editors empower marketers to make light edits without the need for a traditional production workflow. They also enable video editors to focus their skills where they belong: on larger, more complex projects. Most importantly, they allow brands to scale their video marketing programs without burning out their staff.
To be clear, OVP editors are no replacement for professional editors, just as WYSIWYGs didn’t replace web developers and Canva didn’t replace graphic designers. But like those examples, they fill a gap. And with the right video editing tips, any marketer can contribute to video production.
How to Choose Clips
An often-overlooked part of creating and editing a video is choosing the right clips. Clips are the foundation of your video, and exercising the following best practices can be the difference between an average video and a great one.
- Prioritize action/motion. Clips that showcase action or movement tend to be more effective at capturing and maintaining viewers’ attention. Scenes with motion can also evoke a deeper emotional connection and help set the pace and tone of the video. For example, slower movements may subtly encourage reflection or even anticipation, while faster movement may convey urgency, energy, or intensity.
- Use B-roll when possible. In a typical product demo, you’ll have clips of the speaker demoing the product along with clips of just the product itself. The latter is B-roll. It doesn’t drive the story like the speaker, but it supports the story by showing the product up close in action. B-roll helps smooth transitions, provides visual relief during heavy dialogue segments, and can break monotony throughout the video.
- Use art cards for context. Art cards add supporting details relevant to the video. These could include titles, transitions or thematic breaks, or key points or quotes. Art cards can also provide contextual backdrops that set the scene for the next segment of the video.
- Use stock footage to fill visual gaps. When selecting stock footage or animated transitions, look for clips with similar colors and tones to create a better sense of cohesiveness.
- Use wide shots carefully. Dramatic wide shots are great at establishing a mood or setting. Just make sure to use them sparingly and with purpose, since too many of them back-to-back feels detached.
Trimming Clips
Part of choosing clips is choosing how much of each clip to keep. As you make selections, ask yourself, “What’s the purpose of this clip? How does it contribute to the overall video?”
A good video editing tip for trimming is the clip should be long enough to fulfill its intended role, but no longer. For example, you can isolate the strongest moments of each clip by removing any unnecessary lead-in or aftermath—what editors call heads and tails.
You should also pay attention to the role that timing plays. Lots of short clips together feels very fast and implies motion and change. In contrast, holding on a longer clip can emphasize a particular moment or allow the emotional weight of the scene to fully resonate with your viewers.
Trimming your video is intuitive and easy in the Brightcove Video Editor. For each clip, you'll find double bars (which will actually look like dots on longer clips) at the clip's edges in the timeline. Simply drag these markers to the desired start and end points, just as you would when you trim video on a smartphone video editor.
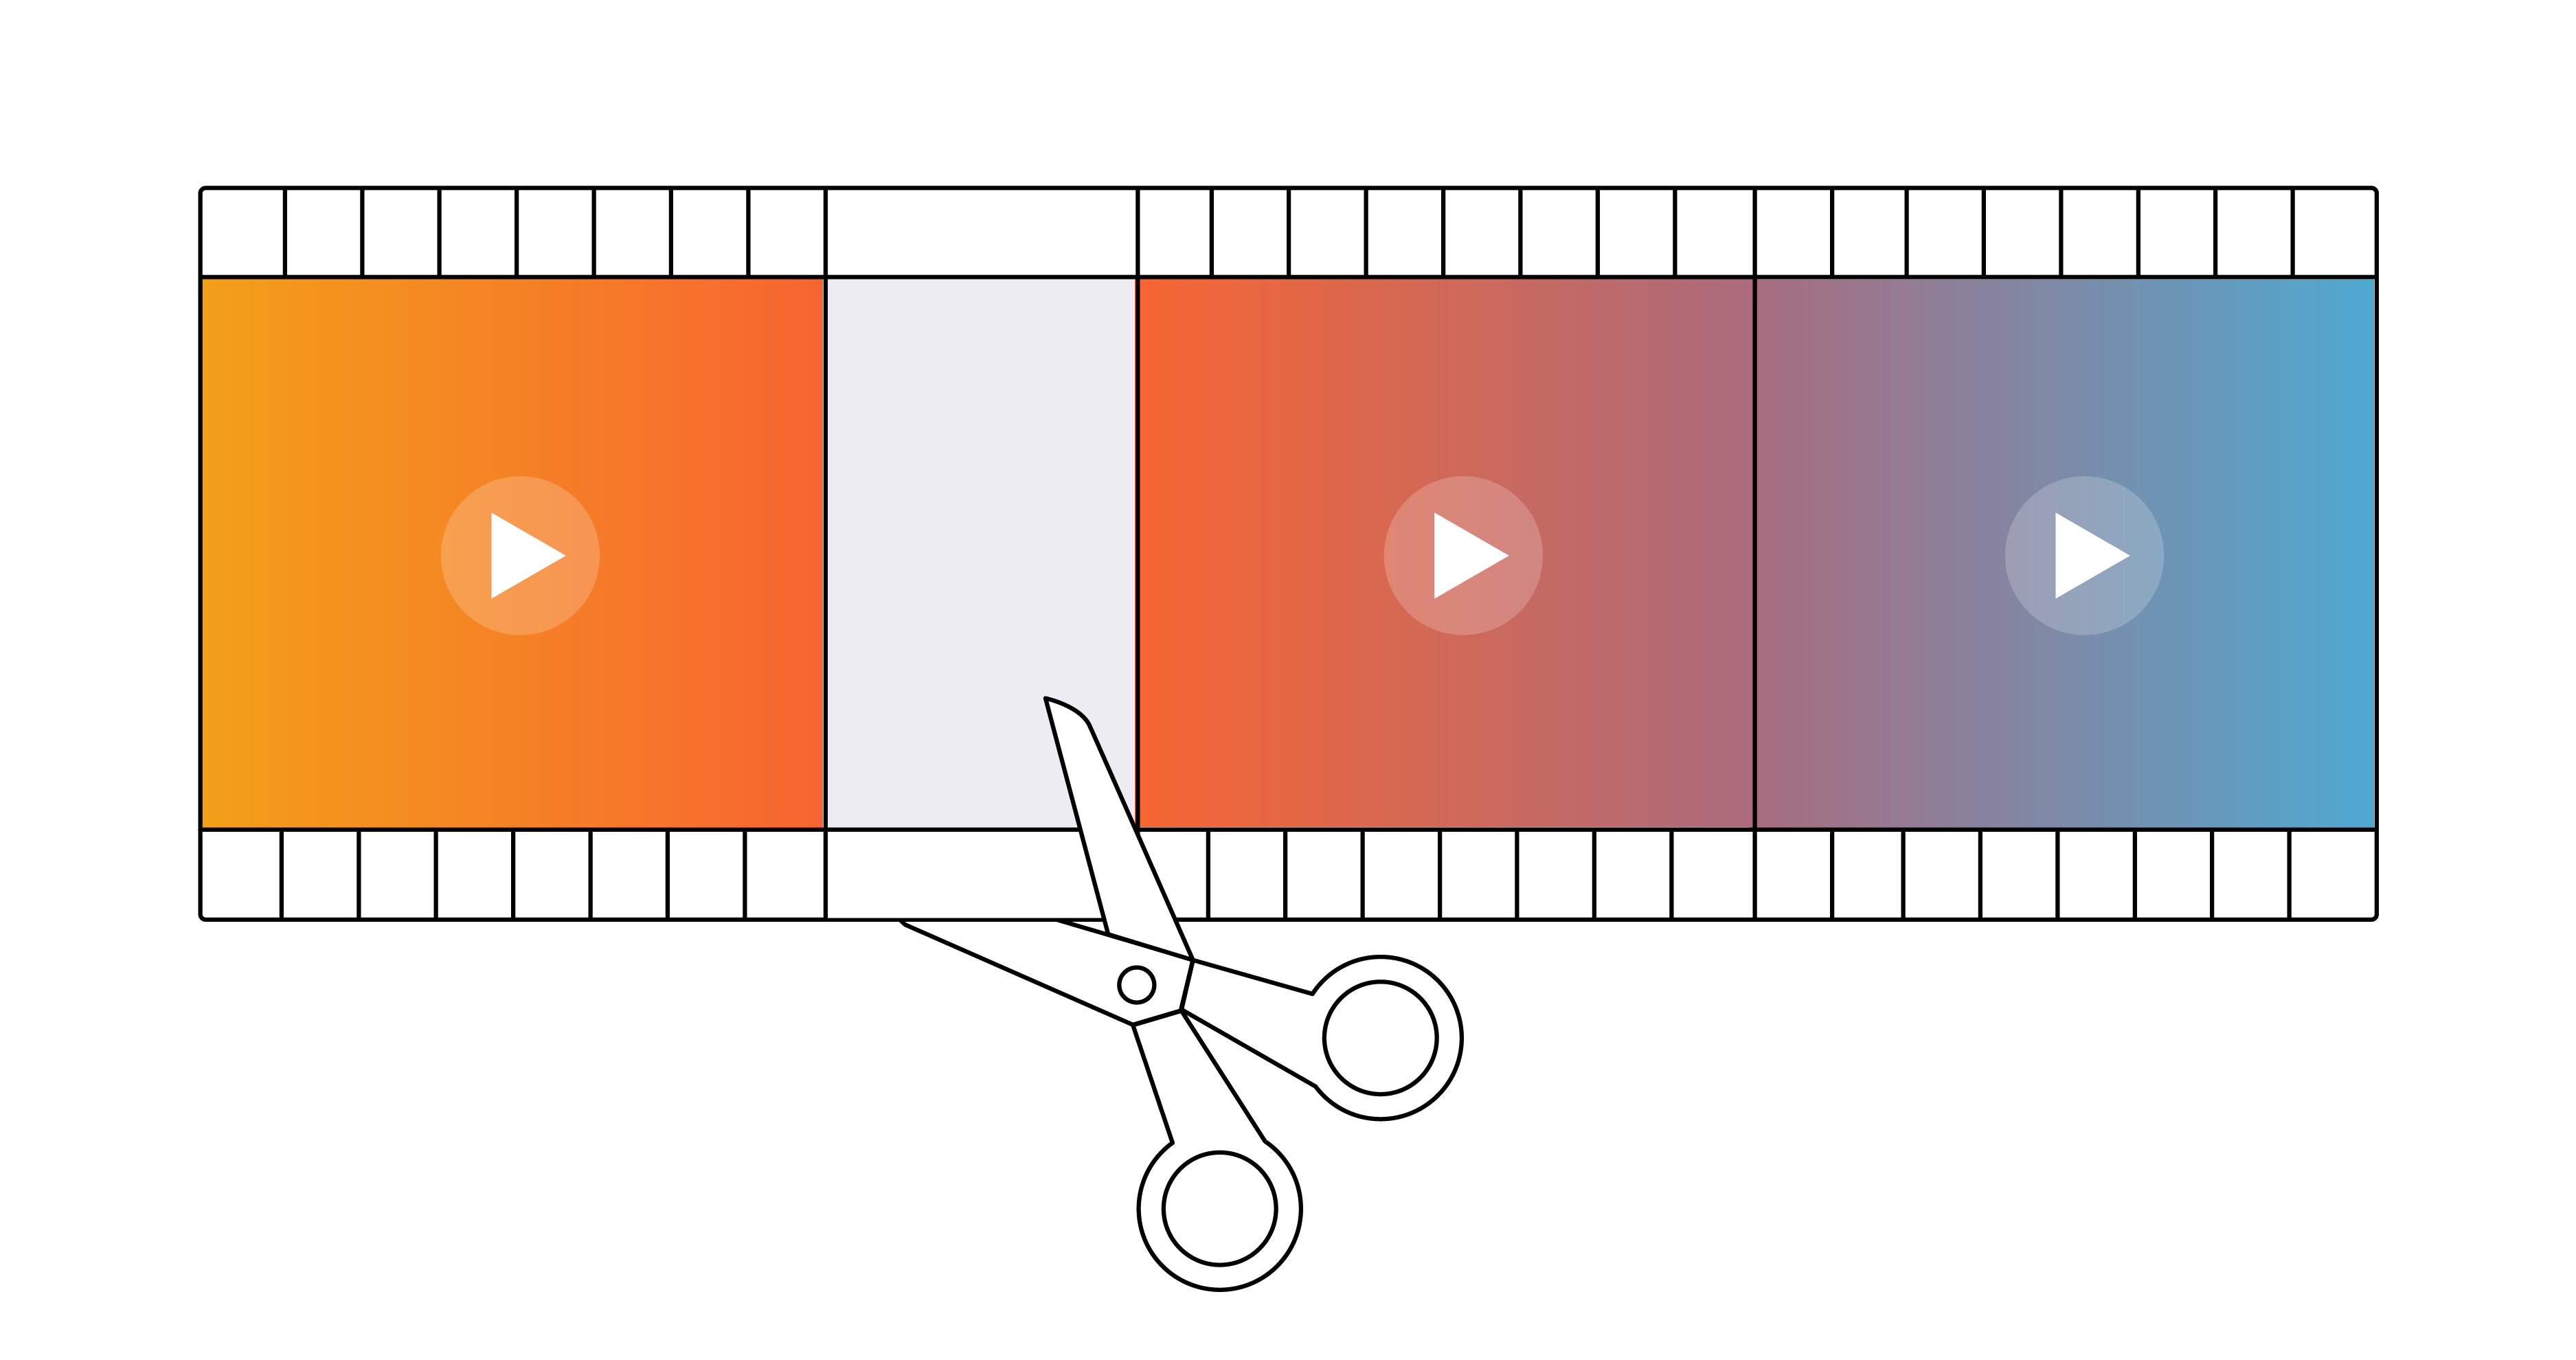
How to Make Cuts
After choosing and trimming your clips, you can start assembling them. While OVP editors make this process relatively easy, it’s still more complex than picking slide transitions in PowerPoint. You need to know where to make cuts and which type of cut to use.
Where to Cut
One common technique is to “cut on action.” This is where you make the cut at the moment an action is happening and transition to another view and the continuation of that action.
For example, imagine an ad for a pair of running shoes. The first clip shows a shoe falling against a white background, and the second shows it on someone’s foot as it touches the ground. Our eyes follow quick movements, so by cutting on action, our minds see the two clips as one fluid scene.
Another video editing technique is a “cutaway.” This is where you cut away from a speaker while they’re speaking to illustrate what they’re saying or show others reacting to it.
For example, marketing videos often cut away to a B-roll shot of the product in use as it’s being described. Similarly, cutting to a reaction shot of another speaker during a dialogue helps viewers better understand the interaction’s dynamics.
Types of Cuts
In addition to knowing where to cut, there are three basic types of cuts that can help make your scene transitions smoother.
- Jump cut. A jump cut, or hard cut, is when you cut directly between two clips, completely changing both the visuals and audio. It’s a great way to create pacing, convey a sense of time, or introduce new characters. However, jump cuts should be purposeful. Overusing them or using them between slower, more poignant clips can be jarring and create a staccato feel.
- Match cut. A match cut follows a specific movement or object across two different frames. For example, in clip one, a soccer ball is kicked and flies across the frame, and in clip two, a cyclist is riding quickly through the frame. Matching the motion of the ball with the cyclist creates continuity. This works particularly well when the goal is to connect two different scenes or objects together.
- Punch in. Punching in is when you zoom in on the frame; it’s particularly useful when you can’t cover an edit by cutting away to B-roll. For example, if a speaker stumbles on a word or phrase, you can simply trim that part and zoom in on the speaker’s face in the next clip. This type of cut is easy to do in the Brightcove Video Editor by clicking on the crop tool. However, make sure you only do this with HD video clips or the zoomed-in footage will look grainy.
Making Cuts with B-Roll
When using B-roll, it’s worth noting the best ways to make cuts with it. You don’t want your video editing to become dependent on it or let it become a distraction for your viewers. A general rule of thumb is to stitch at least three B-roll shots together in your sequence.
For example, start with a wide shot that sets the scene. Then, use a medium shot to introduce a character or object. Finally, use a close-up or tight shot to show detail and connect the viewer to the scene. Varying focal lengths like this (i.e., wide, medium, and close-up shots) creates visual interest, especially when stitching similar clips together.
How to Use Text
While text should be used to enhance a video, simplicity is key. Most viewers can read about three words per second, so try to use shorter words and phrases and avoid punctuation when possible. Video text is like banner ad copy; it doesn’t have to strictly follow grammar rules (or use semicolons).
Animation can help your text maintain the motion and flow of the rest of the video, but it’s also easy to overuse it. We’ve all sat through presentations where every bullet point bounced slowly onto the screen. Remember the video editing tips about matching movement between clips, and only animate the most important word or phrase within a scene.
With the Brightcove Video Editor, you can add text through several templates with different layouts and animations. Additionally, the Video Style settings provide options to customize fonts and colors for brand alignment.
How to Use Music
Music sets the tone for the video and adds an element of emotional impact. As with text and other styling elements, music should complement the theme and mood without overwhelming the visuals or narrative.
You’ll also want to make sure to balance the music so it doesn’t overpower or compete with the voiceover (VO) volume. For example, the Brightcove Video Editor automatically ducks (read: lowers) the music volume during a VO track, so you don’t have to mix it yourself.
Our editor also gives you access to royalty-free music that auto-fades at the end of your video for a more professional, polished feel.
How to Get Started
Whether you’re growing your video marketing program or starting one, OVP editors can democratize video production and allow more team members to contribute.
If you’re not sure where to begin, the Brightcove Video Editor makes it easy. There are several templates to choose from, each with preloaded scenes that can serve as a foundation for your videos. You can then add your own clips, customize the text elements, and choose a video style that aligns with your brand and objectives.
By following these video editing tips, you’ll be able to efficiently create content that meets goals while reducing the burden for your video team.